ILITCH Hum Canceling Systems – technical consultations and tips
PGNCS-T installation – check tips
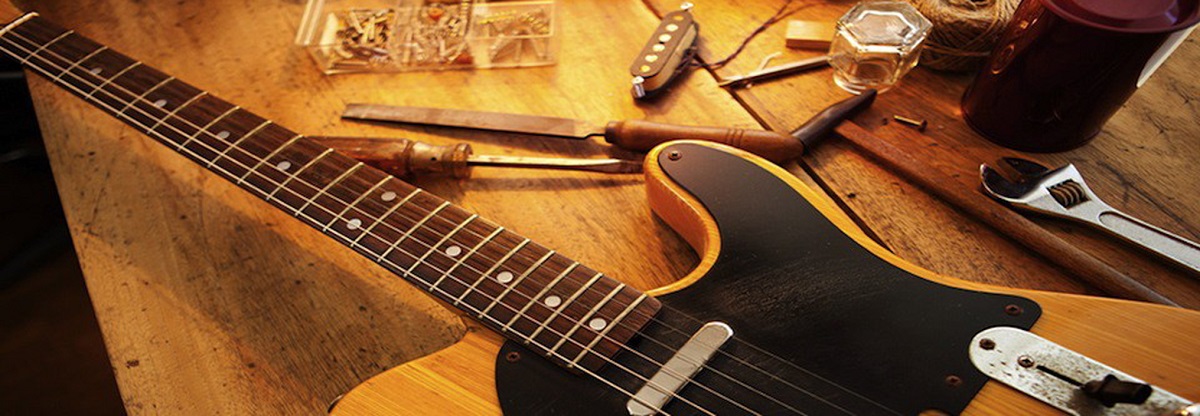
Preparation: Connect all wires according to the User’s manual and installation instructions. Place the PGNCS-T on its place. Put all Volume and Tone controls of the guitar on their MAX position.
Please check your multimeter is functional by touching its red and black lead ends and be able to get a steady reading of 0.00 KOhm (short)at 20 KOhm resistance mode
Then perform the following measurements on the Adjusting PCB wires:
a. Yellow to Red – about 0.35 – 0.45 KOhm
b. Yellow to Green – 0 KOhm (short)
c. Green* to Volume pot housing – 0 KOhm (short) *Green = GROUND = Main guitar ground
Now adjust BOTH blue trimpots to their MAX (CW; 100%) position then measure:
d1. Blue to Green – about 2.5 KOhm
e1. White to Green – about 2.5 KOhm
Now adjust BOTH blue trimpots to their MIN (CCW; 0%) and then measure:
d2. Blue to Green – about 0.35 – 0.45 KOhm
e2. White to Green – about 0.35 – 0.45 KOhm
Now adjust BOTH blue trimpots to 12 o’clock (middle position or 50%) then measure:
d3. Blue to Green – about 3.3 KOhm
e3. White to Green – about 3.3 KOhm
When you get all these readings correct you can now proceed the final step of installing the pickguard on place and later final adjust the blue trimpots for best hum cancellation
BPNCS installation – Check Tips
Preparation: Connect all wires according to the User’s manual and installation instructions. Screw in the Backplate on its place. Put all Volume and Tone controls of the guitar on their MAX position.
Please check your multimeter is functional by touching its red and black lead ends and be able to get a steady reading of 0.00 KOhm (short) at 20 KOhm resistance mode
Then perform the following measurements on the Adjusting PCB wires:
a. Yellow to Red – about 0.35 – 0.4 KOhm.
b. Yellow to Green – 0 KOhm (short)
c. Green* to Volume pot housing – 0 KOhm (short) *Green = GROUND = Main guitar ground
adjust BOTH blue trimpots to their MAX position then measure:
d1. Blue to Green – about 0 KOhm (short)
e1. White to Green – about 0 KOhm (short)
f1. Orange to Green – about 0 KOhm (short)
adjust BOTH blue trimpots to their MIN and then measure:
d2. Blue to Green – about 0.35 KOhm
e2. White to Green – about 0.35 KOhm
f2. Orange to Green – about 0.35 KOhm
adjust BOTH blue trimpots to 12 o’clock (middle position or 50%) then measure:
d3. Blue to Green – about 2.5 KOhm
e3. White to Green – about 2.5 KOhm
f3. Orange to Green – about 2.5 KOhm
When you get all these readings correct you can now proceed the final step of installing the pickguard on place and later final adjust the blue trimpots for best hum cancellation
2. BPNCS installation on guitar with RWRP Middle pickup and stock 5 way pickup selector switch Rev1.
Requirements:
=The guitar has 3 pretty much same resistance Bridge, Middle and Neck pickups (within 1KOhm difference)
=The guitar has a standard 5 position pickups selector switch.
=The guitar has one Volume, one Tone potentiometer or some other NO switchable Tone 1 and Tone 2 setup
Notes:
Negative:
With this wiring, at position 3 you will have the Middle pickup WITHOUT the BPNCS noise canceling.
Positive:
With this wiring, at position 2 and 4 you will have NOTHING connected to the operating pickups and have a standard (original) noise canceling.
With this wiring, at position 1 and 5 you will have a standard BPNCS noise canceling
For BPNCS installation on guitar with RWRP Middle pickup Rev2 and BPNCS installation on guitar with RWRP Middle pickup Rev4 with 5way 4 pole supper switch:
Please find and use the proper wiring diagram to wire the guitar
3. BPNCS installation and Pickguard shielding.
The shielding will reduce the high frequency noise It should be simply made by placing a thin cooper or aluminum self-adhesive foil on the back of the guitar pickguard.
Here is an example of Strat pickguard shielding: Pickguard shielding